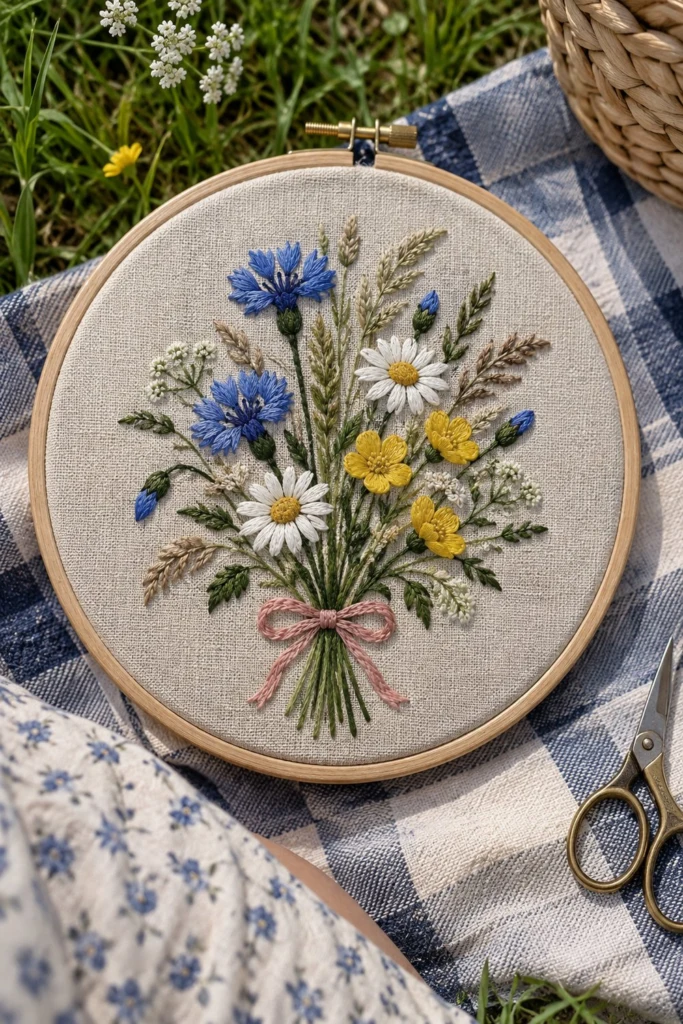
A loose bunch of meadow flowers looks better when the stems are a bit uneven and the blooms tumble naturally. This wildflower bouquet embroidery pattern is a simple beginner design that fills a 6 in (15 cm) hoop with cornflowers, daisies, buttercups, and fine grasses. I love how the mix of textures creates a piece that feels like you just stepped out of a summer field and dropped the stems straight into a frame.
Quick Facts
- Skill level: Beginner
- Finished size: 5 in (12.5 cm) design inside a 6 in (15 cm) hoop
- Hoop: 6 in (15 cm) wooden embroidery hoop
- Fabric: Natural linen or linen-blend fabric cut to 10 in x 10 in (25 cm x 25 cm)
- Stitches used: Stem stitch, straight stitch, lazy daisy, satin stitch, French knot
- Time to make: 4 to 6 hours
What Makes This Embroidery Pattern Special
Every stem in this bouquet is stitched at a different height and angle, which keeps the arrangement from looking stiff or printed. The design uses five basic stitches, so you do not need any advanced needlework skills to get a lovely result. We keep the linen natural so the bright blue cornflowers and sunny buttercups really pop off the cloth without needing a heavy background fill.
Finished Size
The stitched motif measures 5 in wide by 5 in high (12.5 cm x 12.5 cm) and sits comfortably inside the 6 in (15 cm) wooden embroidery hoop, leaving a 1/2 in (1.3 cm) clearance all around the edge.
Materials You Will Need
- Natural linen or linen-blend fabric: 10 in x 10 in (25 cm x 25 cm)
- 6 in (15 cm) wooden embroidery hoop
- Embroidery needle (size 5 or 7 sharp)
- Small embroidery scissors
- Water-soluble transfer pen or pencil
- DMC embroidery floss (6-strand cotton):
- Royal Blue | DMC 796 | 2 strands | Cornflower petals | 1 skein
- Medium Blue | DMC 820 | 2 strands | Cornflower shading | 1 skein
- White | DMC Blanc | 2 strands | Daisy petals | 1 skein
- Mustard Yellow | DMC 3820 | 2 strands | Buttercup petals | 1 skein
- Dark Olive Green | DMC 3011 | 2 strands | Stems and leaves | 1 skein
- Sage Green | DMC 3012 | 2 strands | Fine grass details | 1 skein
- Pale Pink | DMC 776 | 2 strands | Bow ribbon | 1 skein
Stitches Used
Stem Stitch
- Bring your needle up through the fabric on the line, then take a small stitch forward and pull through.
- Bring the needle back up just to the side of your previous stitch, keeping the working thread consistently below or to the right of the needle.
- Repeat along the curved line, making your stitches even and close together for a smooth stem.
Straight Stitch
- Bring the needle up from the back of the fabric at your starting point.
- Insert the needle back down at the desired length to form a single straight line.
- Pull the thread gently so the fabric does not pucker, then repeat for fans or grass blades.
Lazy Daisy
- Bring the needle up at the base of the petal.
- Form a loop with the working thread on top of the fabric, then insert the needle back down right next to where it came up.
- Bring the needle up through the loop at the tip of the petal and anchor it with a tiny stitch over the loop.
Satin Stitch
- Bring the needle up at one edge of the shape and go down directly across at the opposite edge.
- Bring the needle back up right beside your starting point and repeat, keeping the stitches parallel and tightly packed to fill the shape.
French Knot
- Bring the thread up through the fabric.
- Wrap the thread around the needle two times near the tip.
- Insert the needle back down very close to your exit hole, hold the tail taut, and pull slowly to the back.
Transferring the Design
The bouquet centers inside the 6 in (15 cm) hoop with the tied ribbon sitting about 1 1/2 in (4 cm) above the bottom rim. The tallest cornflower reaches up to about 1 in (2.5 cm) below the top edge.
To transfer the design, tape your fabric over a printed template or sketch on a sunny window, and trace the lines using your water-soluble pen. Alternatively, use a stick-and-stitch stabilizer patch if you prefer to wash it away later.
⚠️ Note: Keep your lines light so they do not show through the white daisy petals or pale pink ribbon.
Stitching Instructions
Stems and Foliage
- Using 2 strands of Dark Olive Green (DMC 3011), work the main vertical stems that gather at the bottom using the stem stitch.
- Add smaller angled side leaves and leaf clusters using straight stitches and stem stitch branches.
- Fill in the grassy wheat heads and fine background blades using 2 strands of Sage Green (DMC 3012) in straight stitches.
✅ Checkpoint: All stems should converge neatly at the lower center point where the ribbon will be tied.
Cornflowers
- Using 2 strands of Royal Blue (DMC 796), stitch the outer petals of the three main cornflowers using radiating straight stitches that fan out from a center point.
- Add depth to the base of the petals using 2 strands of Medium Blue (DMC 820).
- Finish the centers with a few small French knots in Dark Olive Green (DMC 3011).
Daisies
- Using 2 strands of White (DMC Blanc), stitch the daisy petals using the lazy daisy stitch arranged in a circle.
- Fill the center of each daisy with French knots using 2 strands of Mustard Yellow (DMC 3820).
Buttercups
- Using 2 strands of Mustard Yellow (DMC 3820), fill the small buttercup flower shapes using smooth satin stitch petals.
- Add a tiny dot in the center of each buttercup with a single French knot in Dark Olive Green (DMC 3011).
Ribbon Bow
- Using 2 strands of Pale Pink (DMC 776), outline the small tied bow at the base of the bouquet using back stitch or stem stitch.
- Fill the loops of the bow with short satin stitches and let the ribbon tails hang down across the grouped stems.
✅ Checkpoint: Gently press your finished embroidery face down on a clean towel to flatten the stitches without crushing them.
Finishing the Hoop
- Mist the fabric lightly with water or dab with a damp cloth to dissolve any remaining blue transfer pen marks, then let it dry flat.
- Place your stitched linen into the 6 in (15 cm) wooden hoop, pull the edges evenly until the fabric is drum-tight, and tighten the screw at the top.
- Trim the excess linen around the back of the hoop, leaving a 1/2 in (1.3 cm) margin.
- Run a strong gathering stitch around the raw edge of the fabric on the back, pull it tight like a drawstring, and knot it securely to finish.
Tips and Variations
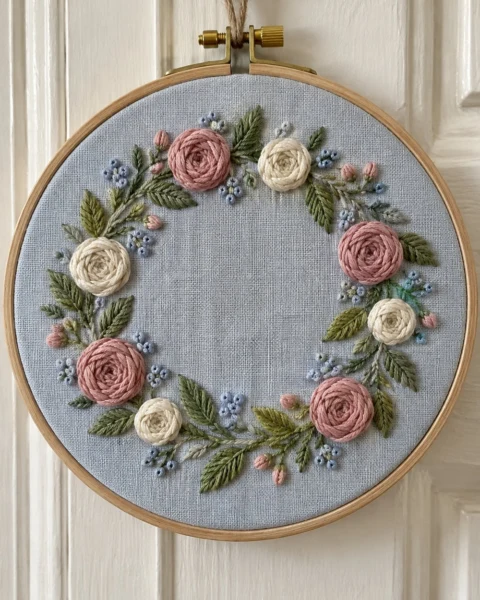
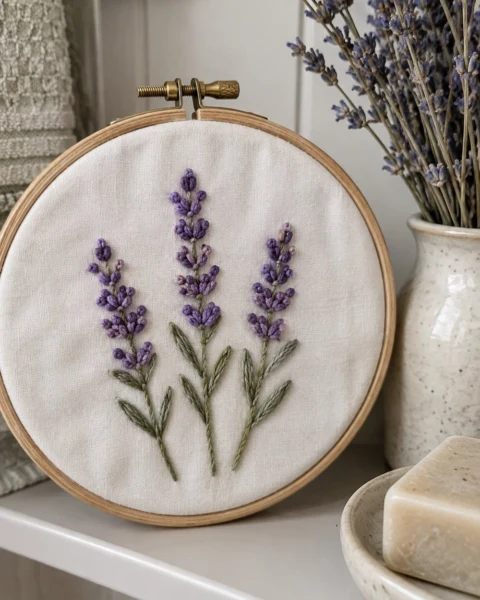
If you want to use this pattern on a linen tea towel or a canvas tote bag instead of a hoop, trace the bouquet directly onto your project fabric and mount it in a larger hoop just while you stitch. You can also swap the blue cornflowers for soft lavender or coral pink if you want to match your home decor.
FAQ
Can I use all six strands of embroidery floss?
Stick to 2 strands for all parts of this design. Using all six strands will make the stems too chunky and the delicate daisy petals look bulky.
How do I keep my linen from fraying while I stitch?
Run a line of liquid seam sealant or masking tape around the raw edges of your 10 in x 10 in fabric square before you mount it in the hoop.
What is the best way to clean my finished embroidery?
If you need to wash out pen marks, dab the fabric gently with cold water and mild dish soap. Never wring the damp linen, as this can distort your stitches.
Happy Stitching!
I hope you enjoy stitching this little meadow bouquet as much as I did. Save this pin on Pinterest so you can find it easily later. If you make one, I would love to see it: send me a photo through the contact page.