Embroidery
Hand Embroidery Patterns
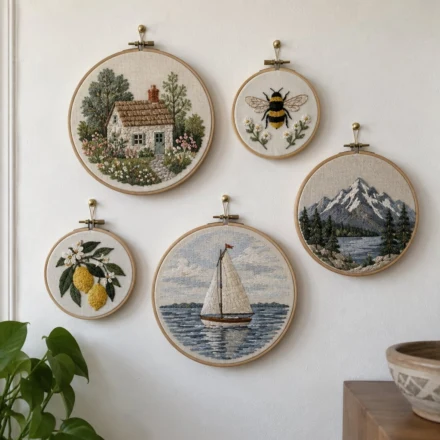
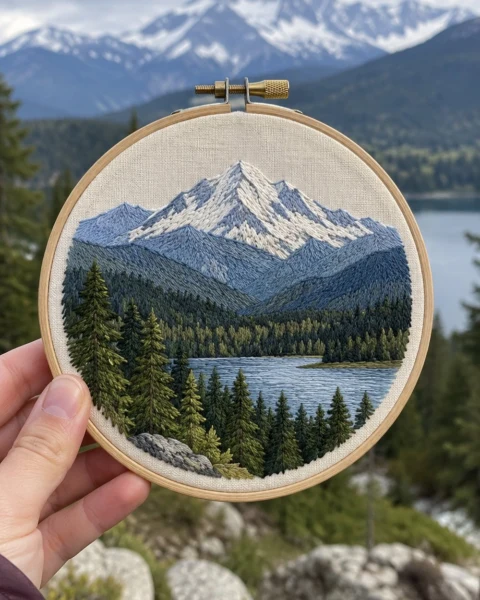
Free hand embroidery patterns for hoop art and gifts: bees, cottages, mountain landscapes and more, with the position and size of every motif, the DMC colours and the stitches for each part.
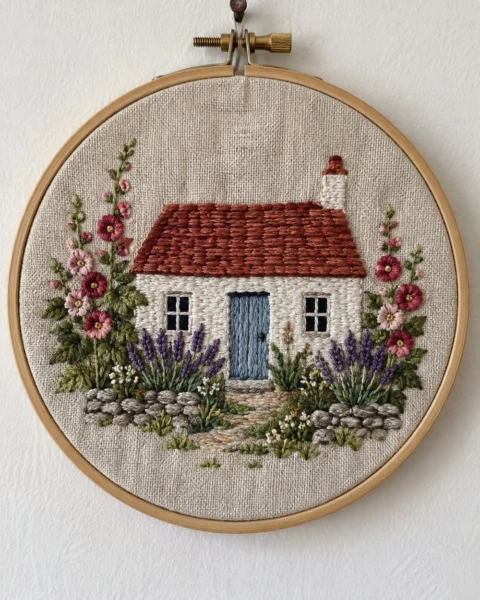
Cottage Garden Embroidery Pattern (6 in Hoop Art)
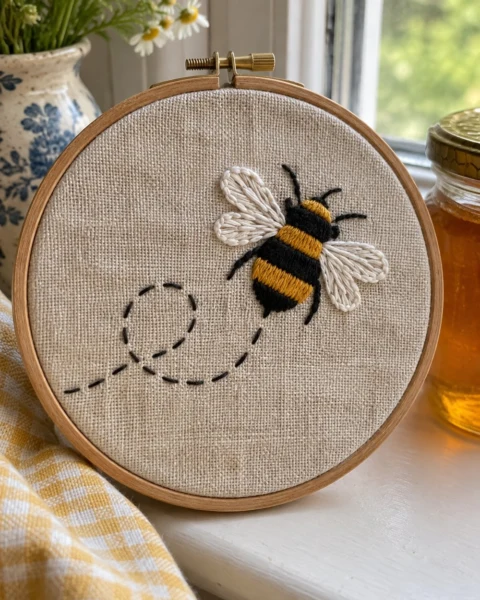
Bee Hand Embroidery Pattern (Free Beginner Hoop)
About this collection
How to transfer a design. On light fabric, tape it to a sunny window and trace with a water-soluble pen. Every pattern here gives the measurements of each motif from the edge of the hoop, so you can also draw it freehand with a ruler.
Stitch back to front. Work the parts that sit behind first (sky, far hills, stems) and the parts in front last (petals, wings, the front of a roof). The edges then overlap naturally and the picture gets depth.
Floss and strands. I name every colour with its DMC number. Two strands give fine, delicate lines; three or four make bold outlines and quick fills.
Finishing the hoop. Trim the fabric to an inch around the hoop, gather it at the back and glue on a felt circle. For more designs with flowers, see Floral Embroidery.
Questions about hand embroidery
What size hoop should I use?
A 6 in (15 cm) hoop is the easiest to start with. Pick a hoop at least 1 in bigger than the design so you never stitch right at the edge.
How do I start and end a thread without a knot?
Start with a waste knot or a small loop start, and end by weaving the thread under a few stitches on the back.
How do I finish the back of an embroidery hoop?
Trim the fabric to about 1 in around the hoop, run a gathering stitch around it and pull it tight. Glue a felt circle on the back for a neat finish.
Can I wash hand embroidery?
Yes, wash it gently by hand in cool water with a mild soap, roll it in a towel and press it face down on a soft towel.