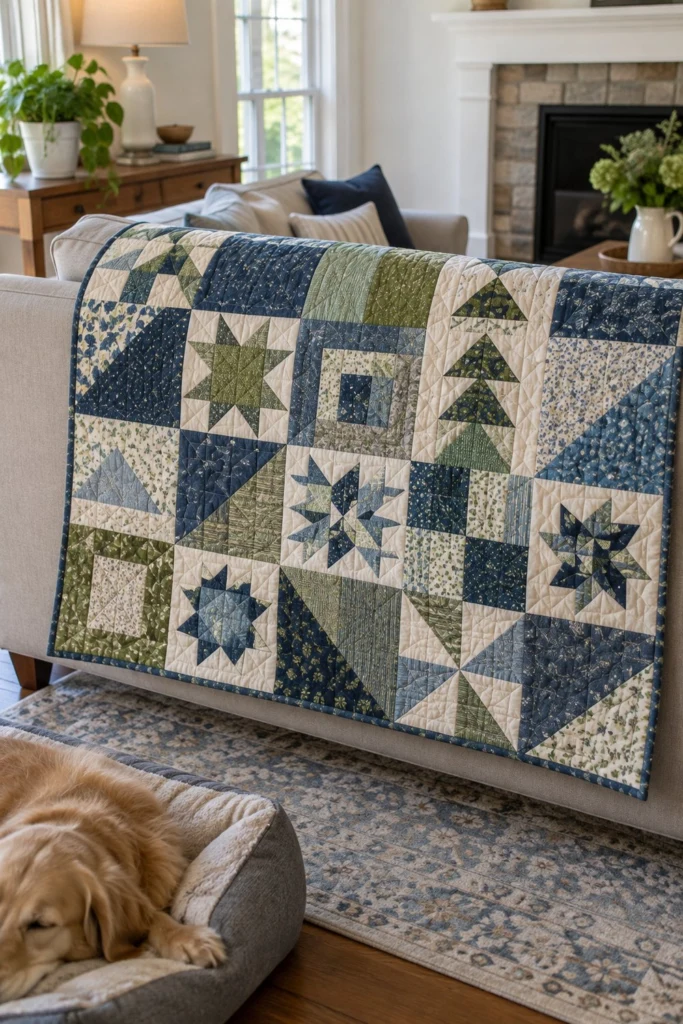
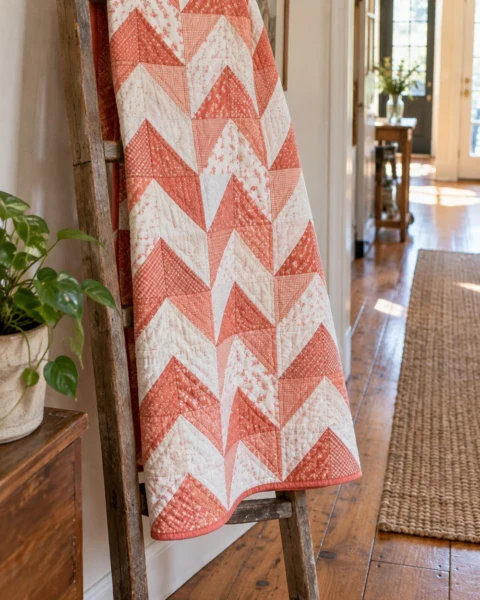
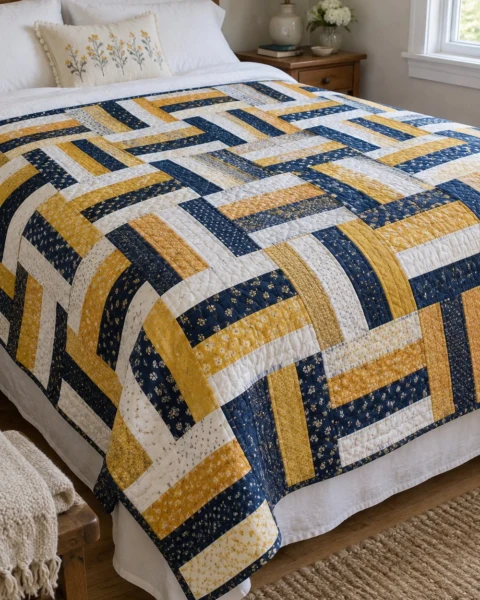
This simple squares throw quilt is a wonderful project when you want a cozy lap blanket without wrestling with tiny triangles or complicated paper piecing. The design relies entirely on straight seams and classic square blocks, making it approachable for a first-time quilter while still holding the attention of someone who has made dozens.
Quick Facts
- Skill level: Beginner
- Finished size: 48 in x 60 in (122 cm x 152.5 cm)
- Block size: 12 in x 12 in (30.5 cm x 30.5 cm) finished
- Fabric: Assorted fat quarters or charm squares with a cream background and dark blue backing
- Seam allowance: 1/4 in (0.6 cm)
- Time to make: Weekend project
What Makes This Easy Throw Quilt Special
The layout uses a balanced mix of traditional pieced blocks and simple four-patch units that alternate across the surface. Straight-line quilting echoes the grid of the blocks, which keeps the quilt soft and drapeable instead of stiff. Using a variety of blue and green prints against crisp cream gives it a collected-over-time look straight from the sewing room.
Finished Size
| Item |
Size (Inches) |
Size (Centimetres) |
Blocks Across x Down |
| Throw Quilt |
48 in x 60 in |
122 cm x 152.5 cm |
4 x 5 |
| Individual Block |
12 in x 12 in |
30.5 cm x 30.5 cm |
N/A |
Fabric Requirements
| Fabric |
Used For |
Yards |
Metres |
| Cream Print |
Backgrounds and sashing squares |
19 yd |
17.4 m |
| Assorted Blue Prints |
Dark block pieces |
21 yd |
19.2 m |
| Assorted Green Prints |
Accent block pieces |
13 yd |
11.9 m |
| Blue Floral |
Backing |
4 yd |
3.7 m |
| Blue Print |
Binding |
6 yd |
5.5 m |
Cutting Instructions
- Cream Print: Cut 16 strips 4 1/2 in x WOF; subcut into 144 squares 4 1/2 in x 4 1/2 in (11.5 cm x 11.5 cm).
- Assorted Blue Prints: Cut 18 strips 4 1/2 in x WOF; subcut into 160 squares 4 1/2 in x 4 1/2 in (11.5 cm x 11.5 cm).
- Assorted Green Prints: Cut 11 strips 4 1/2 in x WOF; subcut into 96 squares 4 1/2 in x 4 1/2 in (11.5 cm x 11.5 cm).
- Blue Print (Binding): Cut 6 strips 2 1/2 in x WOF for the binding.
- Blue Floral (Backing): Cut 2 pieces 56 in (142 cm) long, trim selvedges, and sew together lengthwise to make one backing piece measuring 56 in x 68 in (142 cm x 173 cm).
Assembly
Block Assembly
- Arrange four 4 1/2 in (11.5 cm) squares in a two-by-two grid, mixing blue, green, and cream prints as shown in the layout photo.
- Sew the top two squares together with a 1/4 in (0.6 cm) seam, pressing the seam allowance toward the darker fabric. Repeat for the bottom two squares.
- Join the top and bottom pairs, nesting the center seams together. Press the final seam open or to one side.
- Repeat this process to make a total of twenty 12-inch blocks.
✅ Checkpoint: Each finished block measures 12 1/2 in x 12 1/2 in (32 cm x 32 cm) including seam allowances.
Quilt Top Assembly
- Lay out the 20 blocks in 5 rows of 4 blocks each, following the photo for color placement.
- Sew the blocks in each row together side by side, pressing seams in alternating directions from row to row so they nest smoothly.
- Join the 5 rows together from top to bottom, nesting all intersecting seams. Press final seams open.
💡 Designer Tip: Pin at every block intersection before sewing a long row together to keep your corners crisp and aligned.
Quilting and Binding
- Layer your backing fabric wrong side up, batting, and the pieced quilt top right side up to make your quilt sandwich.
- Baste the layers together using safety pins or basting spray, starting from the center and working out toward the edges.
- Quilt straight lines parallel to the block seams, spacing your lines about 2 inches (5 cm) apart.
- Trim the excess backing and batting even with the quilt top edges.
- Join your 6 binding strips end-to-end with diagonal seams, press in half lengthwise, and sew to the front of the quilt with a 1/4 in (0.6 cm) seam.
- Fold the binding over to the back of the quilt and stitch down by hand or machine.
Size Variations
If you want to adjust the size of this quilt, add or remove whole 12-inch blocks. Adding one extra column of 5 blocks makes the quilt 60 inches (152.5 cm) wide. Adding one extra row of 4 blocks makes the quilt 72 inches (183 cm) long. Adjust your backing and binding yardage accordingly.
Care Instructions
Wash your finished quilt in cold water on a gentle cycle with a mild detergent. Tumble dry on low heat or lay flat to dry. The fabrics will crinkle slightly after the first wash, giving you that classic, well-loved vintage texture.
FAQ
Can I use pre-cut charm packs for this quilt?
Yes, charm packs containing 5-inch squares work wonderfully. Just adjust your finished block math so that your individual units fit together cleanly.
What batting is best for a throw quilt?
A 100% cotton batting gives a nice traditional weight and drape, while a cotton-poly blend offers a little more warmth and loft with less wrinkle.
How do I keep my straight-line quilting from puckering?
Start your quilting lines in the center of the quilt and work toward the outer edges, smoothing the fabric flat with your hands as you go.
Happy Quilting!
I hope you enjoy stitching this simple squares throw quilt as much as I did designing it. Save the pin to your quilting boards on Pinterest so you can find it later. If you make one, I would love to see it: send me a photo through the contact page.