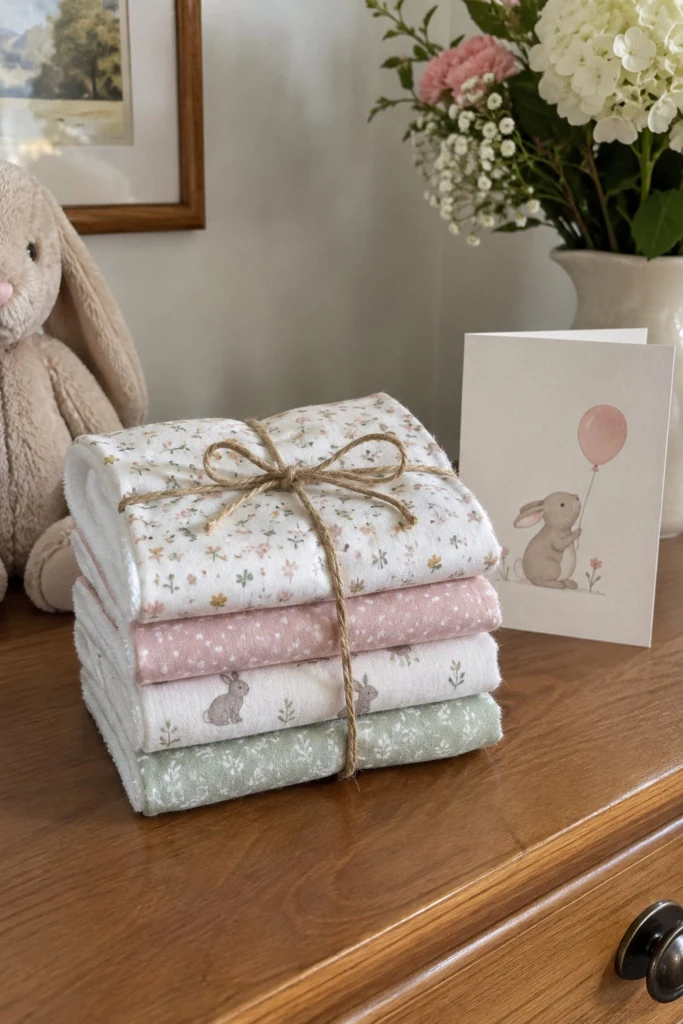
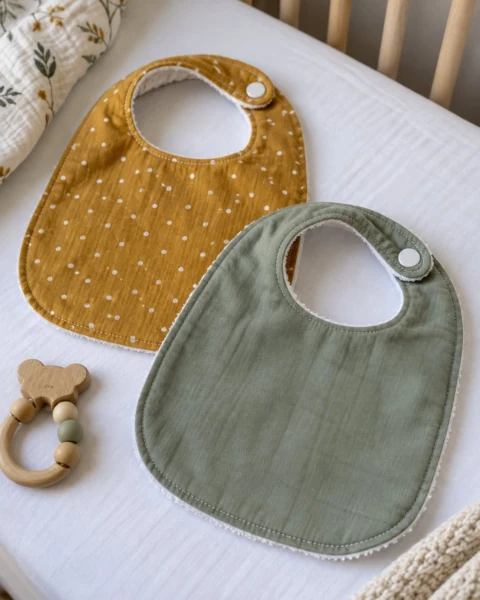
Generous burp cloths are one of those simple makes that you will reach for constantly when a baby is around. This free sewing pattern makes a 20 x 12 inch cloth with soft flannel on one side and thirsty cotton terry on the other so it actually stays put on your shoulder and soaks things up.
Quick Facts
- Skill level: Beginner
- Finished size: 20 in x 12 in (51 cm x 30.5 cm)
- Fabric: Cotton flannel and cotton terry towel
- Seam allowance: 1/2 in (1.3 cm)
- Time to make: 30 minutes
- Machine needed: Standard sewing machine
What Makes This Burp Cloth Special
The size is the real secret here. At 20 inches long, it drapes properly over your shoulder instead of sliding down your back the moment you pick up the baby. Pairing patterned flannel with plain white terry gives you a soft surface for sensitive skin and a thick backing that handles spills easily.
Finished Size
| Dimension |
Inches |
Centimetres |
| Width |
12 in |
30.5 cm |
| Length |
20 in |
50.5 cm |
Materials You Will Need
| Material / Notion |
Amount (Yardage) |
Notes |
| Cotton flannel |
3/4 yd (0.7 m) |
Pre-washed and pressed |
| Cotton terry towelling |
3/4 yd (0.7 m) |
Pre-washed and pressed |
| Matching thread |
1 spool |
All-purpose polyester |
Tools:
– Rotary cutter, self-healing cutting mat and long acrylic ruler
– Sewing machine with a universal needle (size 80/12)
– Sharp fabric scissors
– Iron and ironing board
– Pins or wonder clips
Cutting List
Seam allowance is 1/2 in (1.3 cm) throughout unless noted otherwise.
| Piece |
Fabric |
Cut Size W x H |
How Many |
| Front panel |
Cotton flannel |
21 in x 13 in (53.5 cm x 33 cm) |
1 |
| Backing panel |
Cotton terry |
21 in x 13 in (53.5 cm x 33 cm) |
1 |
Before You Start
Always pre-wash and dry your flannel and terry before cutting so any shrinkage happens before you sew. Terry cloth sheds quite a bit when cut, so give your cutting table a quick wipe afterward.
Step-by-Step Instructions
Step 1: Cut your fabrics
Lay your cotton flannel flat on your cutting mat and cut one rectangle measuring 21 in x 13 in (53.5 cm x 33 cm). Repeat the process with your cotton terry towelling to cut an identical 21 in x 13 in (53.5 cm x 33 cm) rectangle.
Step 2: Pin right sides together
Place your flannel panel and your terry panel right sides together, aligning all four raw edges. Pin the layers securely every few inches, keeping the pins about 3/8 in from the edge so your sewing machine foot does not hit them.
💡 Designer Tip: Terry cloth tends to stretch more than flannel. Match your corners carefully and smooth the layers together without pulling the terry fabric as you pin.
Step 3: Stitch around the perimeter
Sew around all four sides using a 1/2 in (1.3 cm) seam allowance. Leave a 4 in (10 cm) opening along one of the long edges for turning. Backstitch at the start and end of your stitching line to secure the threads.
✅ Checkpoint: Measure the opening you left; it should be right around 4 in (10 cm) so you have enough room to turn the cloth right side out smoothly.
Step 4: Clip the corners
Trim the four corner tips diagonally close to your stitching line, being careful not to cut through the threads. This removes bulk so your corners turn out sharp and square.
Step 5: Turn right side out
Reach through the 4 in (10 cm) opening and gently pull the fabrics right side out. Use a blunt tool like a turning rod or a closed pair of scissors to push out the four corners gently until they form neat right angles.
Step 6: Press the edges
Fold the raw edges of the opening under by 1/2 in (1.3 cm) so they line up evenly with the sewn seams around them. Press the entire burp cloth flat with a hot iron, smoothing out the edges.
✅ Checkpoint: The pressed cloth should now measure exactly 20 in x 12 in (51 cm x 30.5 cm) before topstitching.
Step 7: Topstitch the outer edge
Topstitch all the way around the outer edge of the burp cloth using a 1/4 in (6 mm) seam allowance. This closes the turning gap securely and gives the cloth a crisp, finished look.
Step 8: Add a second line of topstitching
Sew a second line of topstitching parallel to the first, about 1/2 in inside the first line. This keeps the flannel and terry layers from shifting apart during washing.
Finishing
Trim any stray thread tails close to the fabric. Give your finished burp cloth one final press with your iron.
Size and Fabric Variations
- For a wider cloth: Cut your pieces 14 in wide instead of 13 in to finish at 13 in wide.
- For flannel on both sides: Substitute the terry backing with a second coordinating flannel print if you want a lighter weight cloth.
Care Instructions
Machine wash in warm water with similar colours and tumble dry on medium. Flannel and terry get softer with every single trip through the laundry.
FAQ
Can I make these without a serger?
Yes, absolutely. A standard sewing machine with a straight stitch is all you need since the raw edges are fully enclosed inside the cloth.
What is the best needle to use for terry cloth?
A standard universal needle in size 80/12 or 90/14 works wonderfully for piercing through the thick loops of cotton terry.
Can I use scrap fabrics for the front panel?
Yes. You can piece together different flannel strips for the front panel before cutting it to size if you want a patchwork look.
Happy Sewing!
I would love to see the fabrics you choose for your burp cloths. Be sure to save this pin on Pinterest. If you make one, I would love to see it: send me a photo through the contact page.