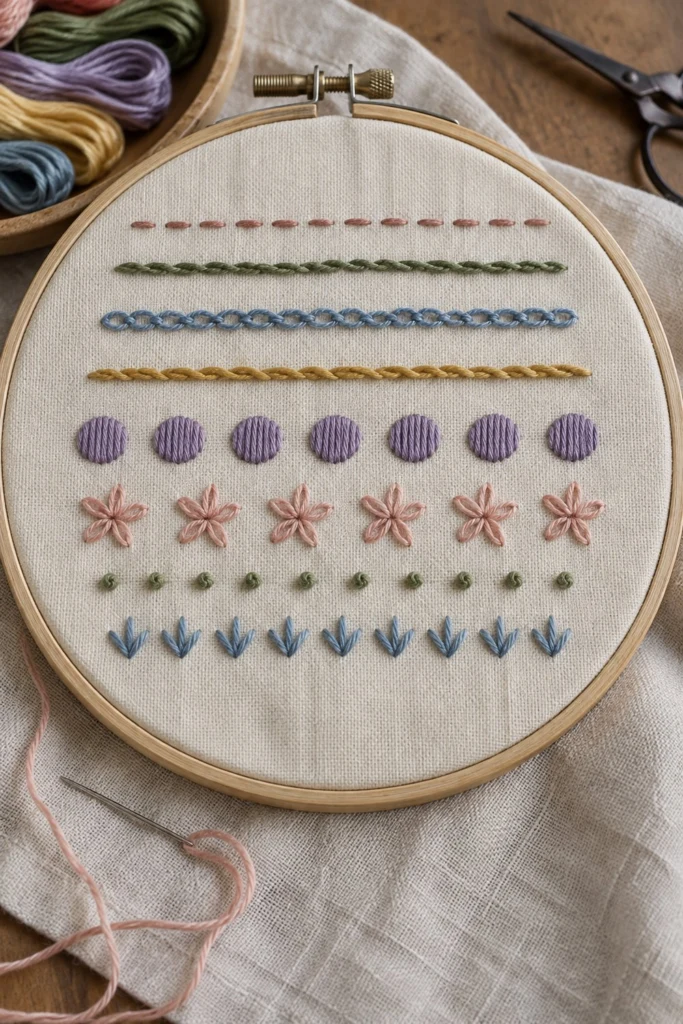
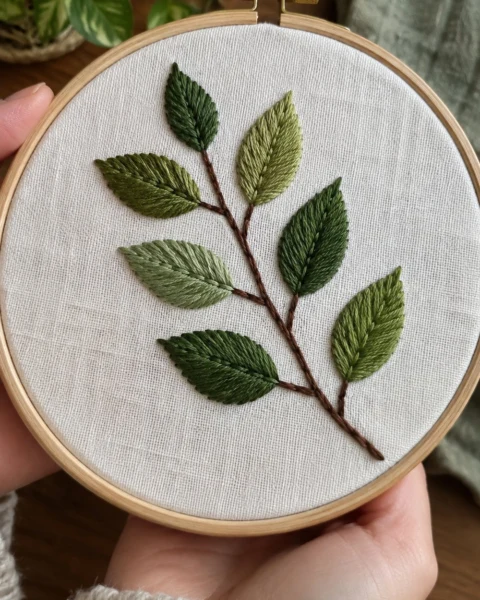
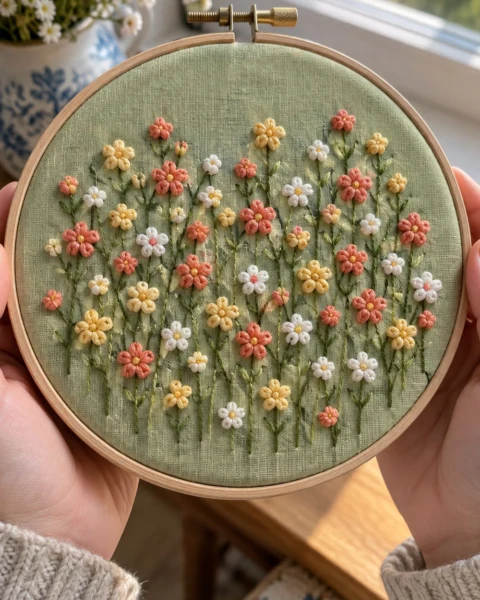
This beginner embroidery stitch sampler is the best way to learn the basics without getting overwhelmed by a complex picture. When you look at the photo, you see eight neat rows of stitches worked in soft, muted tones on an unbleached cotton-linen fabric, held firmly in a wooden hoop. It is designed to be kept as a handy reference you can prop up on your table while you work on other projects.
Quick Facts
Skill level: Beginner
Finished size: 7 in (18 cm) diameter
Hoop: 7 in (18 cm) wooden embroidery hoop
Fabric: Unbleached cotton-linen blend, 11 in x 11 in (28 cm x 28 cm)
Stitches used: Running stitch, split stitch, chain stitch, stem stitch, satin stitch, straight stitch, French knot, fly stitch
Time to make: 4 to 6 hours
What Makes This Stitch Sampler Special
Each row on this sampler teaches a different hand embroidery technique so you can build muscle memory stitch by stitch. The soft color palette of dusty pink, sage green, cornflower blue, golden mustard, and lavender keeps the finished piece looking cohesive and calm. Because the rows progress from simple straight lines to textured circles and delicate flowers, you will see your confidence grow as you move down the hoop.
Finished Size
The embroidered design measures 6 in (15 cm) in diameter, perfectly fitted inside a 7 in (18 cm) wooden embroidery hoop with a clean 1/2 in (1.3 cm) margin on all sides.
Materials You Will Need
- Unbleached cotton-linen fabric: 1 of 11 in x 11 in (28 cm x 28 cm)
- Wooden embroidery hoop: 1 of 7 in (18 cm)
- Embroidery needle: Size 5 or 7 sharp embroidery needle
- Embroidery scissors: 1 pair of small, sharp snips
- Water-soluble transfer pen: 1
- Cotton embroidery floss (six-strand skeins)
| Colour Name |
DMC Number |
Strands |
Used For |
Skeins |
| Dusty Pink |
DMC 3722 |
3 |
Row 1 running stitch, Row 6 flowers |
1 |
| Sage Green |
DMC 524 |
3 |
Row 2 split stitch, Row 7 French knots |
1 |
| Cornflower Blue |
DMC 931 |
3 |
Row 3 chain stitch, Row 8 fly stitch |
1 |
| Golden Mustard |
DMC 783 |
3 |
Row 4 stem stitch |
1 |
| Lavender |
DMC 3041 |
3 |
Row 5 satin stitch circles |
1 |
Stitches Used
Running Stitch
- Bring your needle up from the back of the fabric on the line.
- Push the needle down a short distance away to make a single stitch.
- Bring the needle back up a short space further along to leave a gap of the same size.
- Continue weaving the needle in and out of the fabric along your marked line.
Split Stitch
- Bring your needle up on the line and take a small stitch forward.
- Bring the needle back up, piercing directly through the middle of the very first stitch you just made.
- Take another small stitch forward, splitting the previous stitch each time you emerge.
- Keep your stitch length even for a solid, braided line.
Chain Stitch
- Bring your needle up on the line, then push it back down right next to that same hole, leaving a small loop of thread on top of the fabric.
- Bring the needle up a short distance ahead, catching the loop with your needle point as you pull through.
- Pull the thread gently so the loop forms a teardrop shape.
- Anchor the loop by taking a tiny stitch just over the bottom edge, then repeat.
Stem Stitch
- Bring your needle up on the line and take a stitch forward to the right.
- Bring the needle back up slightly to the left, halfway back along the stitch you just made, keeping your working thread below the line.
- Take another forward stitch, repeating the overlapping motion with the thread always resting on the same side.
Satin Stitch
- Bring your needle up on one side of a shape and push it down directly across on the opposite edge.
- Bring the needle up right next to your starting point on the same side.
- Lay the next stitch parallel and touching the previous one, packing them closely together until the entire shape is filled.
Straight Stitch
- Bring your needle up through the fabric where you want your stitch to begin.
- Push the needle down at the desired end point of your stitch.
- Pull the thread through snugly without puckering the fabric.
French Knot
- Bring your needle up where you want the knot to sit.
- Wrap the working thread around the tip of the needle two or three times close to the fabric.
- Insert the needle tip back down very close to the spot where it came out, leaving a tiny gap of one fabric thread.
- Hold the wrapping thread tail taut with your non-working hand while you pull the needle and thread all the way through to the back.
Fly Stitch
- Bring your needle up at the top left of the V shape.
- Push the needle down at the top right, leaving a loose loop of thread hanging below the line.
- Bring the needle up in the center, just below the loop, catching the thread to form a V.
- Take a tiny anchoring stitch just below the point of the V to secure it.
Transferring the Design
Draw a circle with a diameter of 6 in (15 cm) lightly on your fabric using a compass or by tracing around a round plate, centering it so you have an even margin all around. Inside this circle, draw eight horizontal guide lines straight across from left to right, spaced 1/2 in (1.3 cm) apart, starting 1 in (2.5 cm) down from the top edge of the circle.
- Row 1 (Dusty Pink): A straight dashed line for running stitch, 5 in (13 cm) wide.
- Row 2 (Sage Green): A straight solid line for split stitch, 5 in (13 cm) wide.
- Row 3 (Cornflower Blue): A straight solid line for chain stitch, 5 in (13 cm) wide.
- Row 4 (Golden Mustard): A straight solid line for stem stitch, 5 in (13 cm) wide.
- Row 5 (Lavender): Seven evenly spaced circles, each 3/8 in (1 cm) in diameter, spaced 3/8 in (1 cm) apart in a straight row.
- Row 6 (Dusty Pink): Six small five-petaled star flowers, each 1/2 in (1.3 cm) wide, spaced 1/2 in (1.3 cm) apart in a straight row.
- Row 7 (Sage Green): A row of fourteen tiny dots for French knots, spaced 3/8 in (1 cm) apart.
- Row 8 (Cornflower Blue): A row of ten small fly stitches pointing downward, spaced 3/8 in (1 cm) apart.
Place your fabric over a bright window or light box to trace these lines clearly onto your unbleached cotton-linen using your water-soluble transfer pen.
💡 Designer Tip: Keep your lines thin and crisp so your stitches completely cover the pen marks.
Stitching Instructions
Mount your marked fabric securely into the 7 in (18 cm) wooden hoop, making sure the grain is straight and the fabric drum-tight. Thread your needle with three strands of floss for every row.
Row 1: Running Stitch
Using Dusty Pink (DMC 3722) with three strands, work a neat row of running stitches right across the top marked line. Keep your stitches and your spaces equal in length, about 1/4 in (0.6 cm) each.
✅ Checkpoint: Your dashes should look even and straight all the way across the 5 in (13 cm) width.
Row 2: Split Stitch
Using Sage Green (DMC 524) with three strands, work a solid line of split stitch directly over the second marked line. Take small, consistent steps so the line forms a tight, braided rope effect.
Row 3: Chain Stitch
Using Cornflower Blue (DMC 931) with three strands, work a linked row of chain stitches along the third line. Pull each loop gently so they all match in width.
Row 4: Stem Stitch
Using Golden Mustard (DMC 783) with three strands, work a smooth stem stitch along the fourth line. Always keep your working thread below the needle to maintain a consistent twist.
Row 5: Satin Stitch Circles
Using Lavender (DMC 3041) with three strands, fill all seven circles with neat satin stitches. Lay your stitches parallel from one side of each circle to the other, making sure the edges stay crisp and round.
Row 6: Star Flowers
Using Dusty Pink (DMC 3722) with three strands, embroider six five-petaled flowers using straight stitches radiating out from a central point. Make five straight stitches per flower to form the petals.
Row 7: French Knots
Using Sage Green (DMC 524) with three strands, stitch fourteen French knots in a straight row. Wrap your thread twice around the needle and hold the tail firmly until the knot forms.
Row 8: Fly Stitches
Using Cornflower Blue (DMC 931) with three strands, stitch ten fly stitches in a row along the bottom line. Point every V shape downward and anchor each one neatly at the point.
✅ Checkpoint: Check that all eight rows sit parallel to one another with about 1/2 in (1.3 cm) of breathing room between them.
Finishing the Hoop
⚠️ Note: Do not use hot water to wash your sampler, or your pen marks might permanently set into the fabric.
Dab your completed sampler with a damp cloth or rinse it gently in cool water to dissolve any remaining blue pen marks completely. Lay the damp fabric flat on a clean towel until it dries. Place the fabric back into the embroidery hoop, center your stitched sampler, and tighten the brass screw firmly. Turn the hoop over and trim the excess fabric around the back, leaving a 1 in (2.5 cm) margin. Run a gathering stitch all around the raw edge of the fabric on the back, pull it tight like a drawstring, and knot it securely to finish the back cleanly.
Tips and Variations
If you want to stitch this design on something other than a hoop, try transferring just the flower row onto the corner of a linen napkin or the pocket of a canvas tote bag. You can also swap the color palette entirely to match your room decor by picking four or five favorite skeins from your stash.
FAQ
Can I use all six strands of embroidery floss instead of three?
Using all six strands will make your stitches look very thick and bulky, which can crowd the rows and make delicate stitches like the French knots difficult to form. Sticking to three strands gives the best balance of coverage and neat detail.
What should I do if my French knots pull through to the back?
This usually happens if you let go of the wrapping thread tail too soon or if you pull the needle through the exact same hole the thread came out of. Leave a tiny gap of one fabric thread between your entry and exit points and keep holding the tail until the knot snugs down.
How do I keep my satin stitch edges smooth?
Draw your circle lines carefully and stitch just slightly past the drawn pencil line on each pass. This keeps the outer perimeter looking rounded rather than jagged.
Happy Stitching!
I hope you enjoy learning these classic stitches and building a reference piece you can use for all your future embroidery projects. Save this pin on Pinterest so you can find it easily when you sit down to stitch. If you make one, I would love to see it: send me a photo through the contact page.